How do I create a label template in Bartender? (LX Series Printer)
When you open BarTender you will be
given the choice to select an existing label or create a new one using a
wizard. Use the following instructions as a guide through the wizard setup
process.
1. Choose "Start a new BarTender
document..."
2. Select "Blank Template". Click "Next".
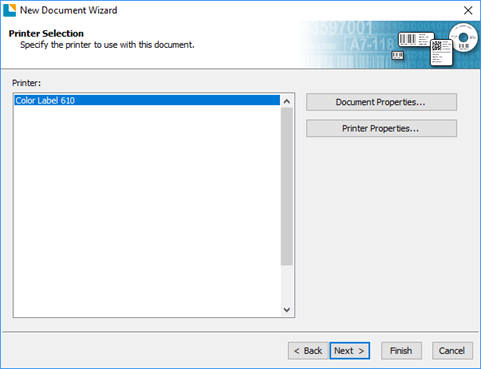
3. Select the name of your printer. Click
"Next".
4. Select "Specify Custom Settings". Click "Next".
5. Set the page size, width, and height to match
labels installed in the printer. Click "Next".
Important: Measure the label stock if you are unsure about the size.
Important: Measure the label stock if you are unsure about the size.
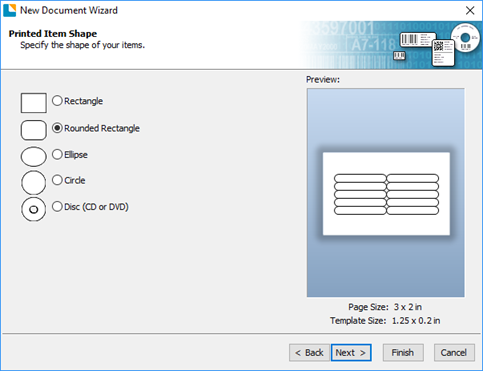
6. Select your label shape. This is typically
"Rounded Rectangle" for standard labels from Primera. Click Next.
7. Set all of the margins to zero!. (You can
adjust the left margin and Top of Form in the Label Alignment Section). Click
Next.
8. Set Rows and Columns to 1 for a standard label. Click Next.
9. Set Template Size to be the same as the label
size. Click Next.
10. Check the "Picture" box to add a background photo or graphic to your label. Click "Next". If you click "Finish", the remaining default wizard options will be set and no picture will be added.
11. Select "Embedded Picture". Click the
"File" button to browse to the location of your photo/graphic file.
Set the Size Method to "Stretch". Note the preview to the right.
Click "Next" if you are satisfied with the layout of the photo or graphic.
Otherwise, you may try one of the other Size Methods in the drop-down menu.
12. Review the label setup summary. If it is
correct, click "Finish". Your blank label or label with the background
will be displayed.
Article ID: 102820
Related Articles
How do I add an image/ design to my Bartender Template so that the template will crop the image to the size/shape of the template.
Add Image as Object. (Will not be cropped to template size/shape) 1. First setup you template according to these instructions. 2. Click on the image icon on the tool bar. Choose Insert from File. 3. If your template is a circle but the template is ...What software can I use to print from my Mac to an LX Series Primera Printer? Illustrator Label Templates - Swift Publisher - Label Live - Preview
A. Adobe Illustrator. You can use any app from the Adobe Creative Suite, but Illustrator is recommended. Please download the AI Label templates at the bottom of this article. There are templates available for each of the label sizes Primera sells. ...Label Graphic Design Tips for Beginners and Professionals. (LX600-LX610-LX900-LX910-LX2000)
Whether you contract your graphic design or do it yourself, these guidelines will help you get the best quality labels out of your LX series label printer. 1. Image Size/Shape. The image size should correspond to the size of the label you will be ...How do I print a two page (front-back) label using BarTender Ultralite? (LX Series Label Printer)
The instructions below are for two page labels where both the first and second page are the same size. Each have separate designs. This would typically be used for front-back labels on a container. For different sized front and back labels you ...LX Series Printer prints a partial label and restarts/resets in the middle of a job. (LX910, LX3000, LX4000)
Sometimes the printer will restart if it encounters an error or an interruption in the data flow from the computer over the USB cable. It can be hard to realize that the printer is restarting if you don't see it happen. Instead, at the end of the ...